.webp)

Gardening Tips
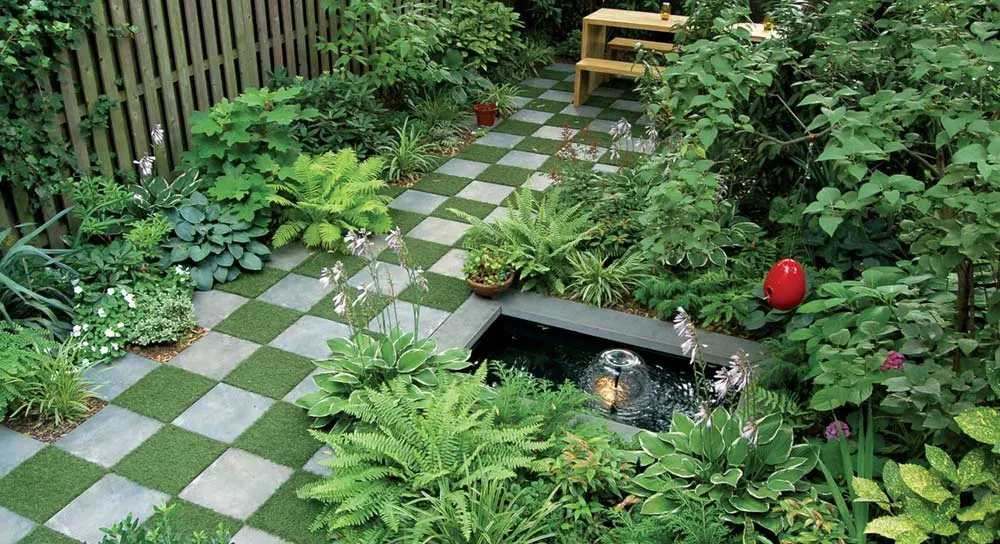
How to Lay a Checkerboard Patio Garden
An essential part of landscape design is paving layouts and there’s no need to break the bank when it comes to upgrading your old garden.
Just adding a few tiles and some plants between those tiles is all you need to give your garden a little glamour. A checkerboard patio garden can provide a distinctly French look to an otherwise tired-looking garden.
What you will need:
Tools
Rake
Tape measures
Trowel
Level
Rubber mallet
Spade
Materials
Planks
Twine
Sand
Mortar
Natural stone tiles
Topsoil
Grass
Gravel (Optional)
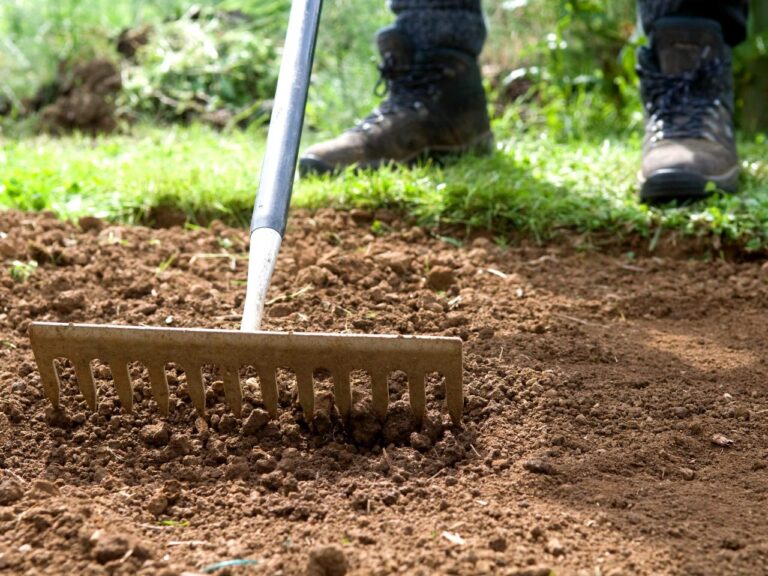
Step 1: Prepare the area that needs to be paved
Clear your chosen checkerboard area of all the grass, weeds and any stones you come across, then rake it over, making the area as flat and even as possible. If you have any existing plants that you are interested in replanting between the tile’s spaces, dig them up and save for later.
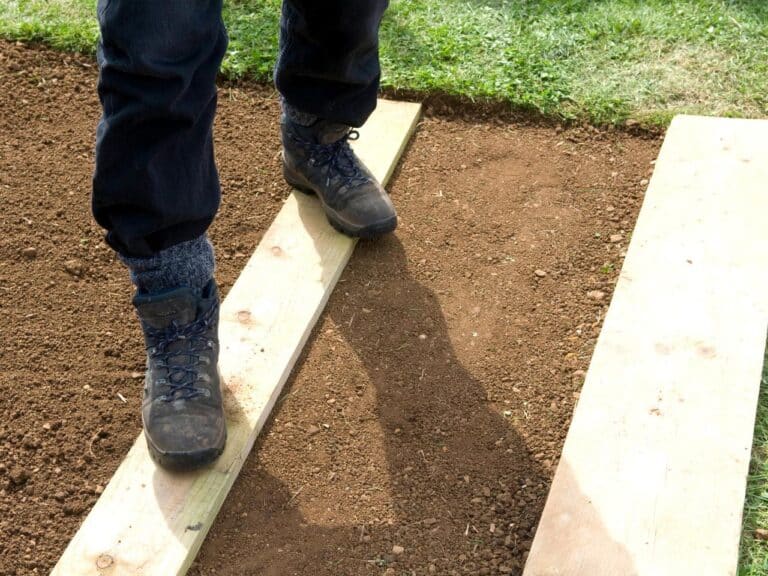
After cleaning the soil, level the area. Use a spirit level to check if the area is uniform to achieve a smooth and neat appearance. Use a wood board to compact the soil, making it even and easier to lay the tiles on to. Move it gradually across the area, walking across the board, each time it’s laid.
Step 2: Measure Squares for Grid Pattern
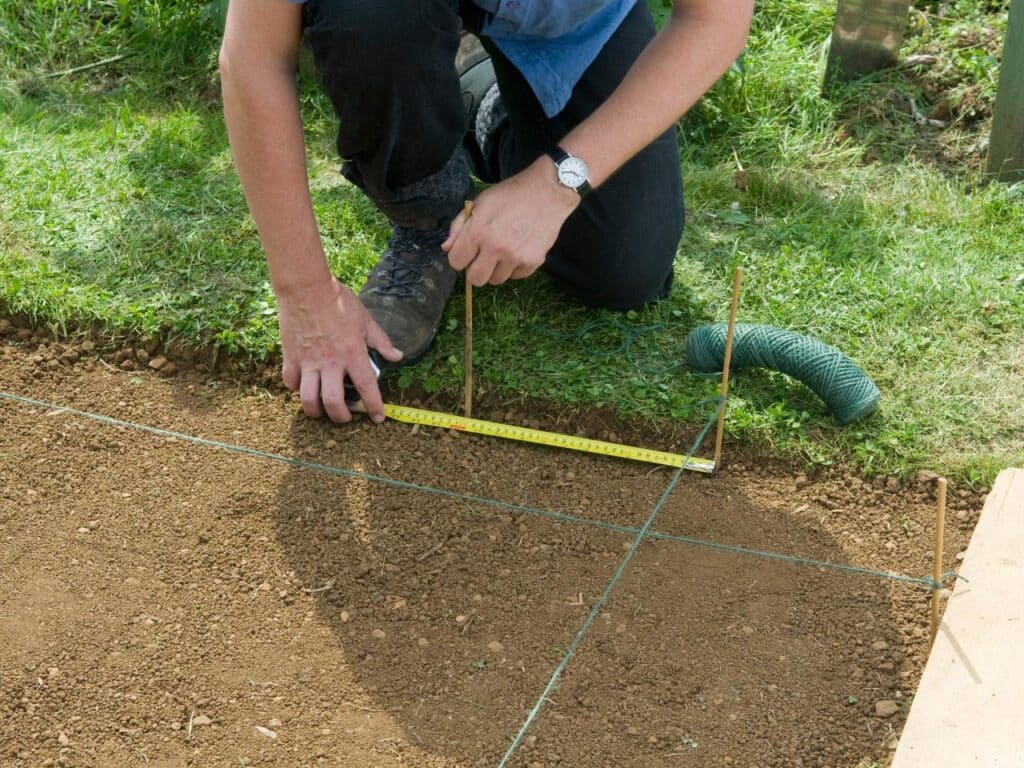
Measure the tiles and then, on opposite sides of the area, mark out the measurements with sticks and stretched twine between them. Repeat on the other edges, making sure the lines are parallel and perpendicular. For smaller areas, you may want to use small tiles, and in bigger areas do make use of bigger tiles such as 600×600 Granite Tiles. This will maintain a sense of scale and proportionality.
Step 3: Prepare the surface to lay the tiles
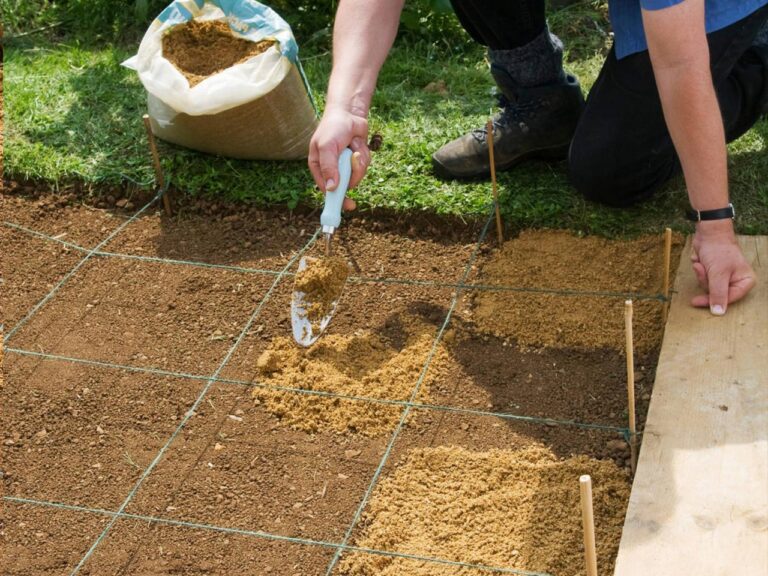
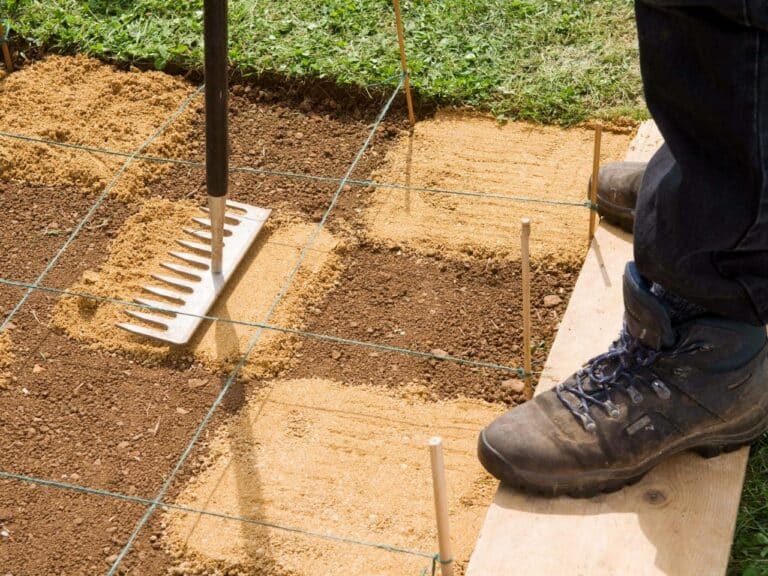
Cover the squares on which the tiles are going to be laid with sand – the depth should be around 5 cm. The sand will give the tiles something to bed into, and will make laying and levelling much easier. After you finish putting the sand in place it will need to be leveled out and consolidated. This is easily achievable by “firming” it down lightly, all over the square, using the back of a rake.
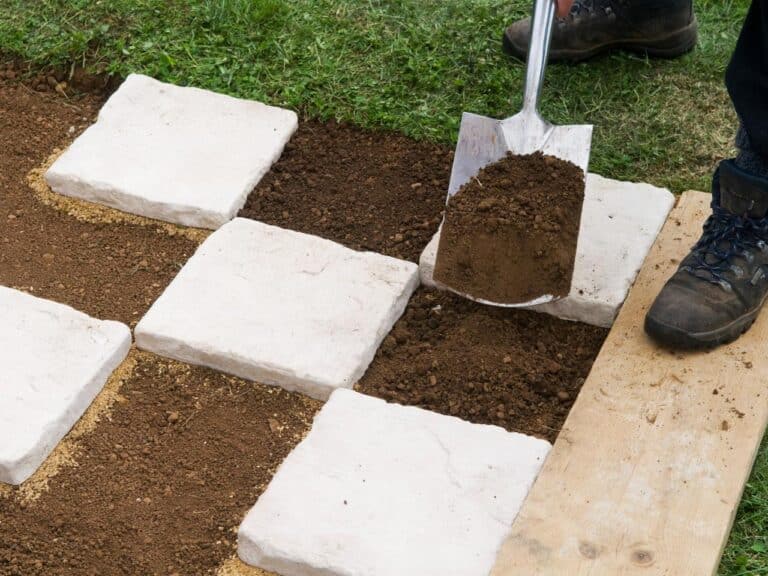
Step 4: Lay down the tiles
To firmly hold the tile in place you should use wet mortar. Place a trowel-full in each corner and one in the centre. This will firmly hold the tile in place. Put the tile carefully in its place and use the wooden end of a mallet to gently knock the corners until it is level. Lay down the tiles corner to corner to achieve a checkerboard effect, always levelling after putting down each of the tiles.
Tip: Use a small spirit level to check the uniformity in all directions and a rubber mallet to lay down the pavers.
Warning: Warning: Never use mortar directly on dirt because dirt moves, sinks, gets soggy and mushy, and allows air to get in and under. Tiles are also easy to break when laid directly on dirt and stepped on.
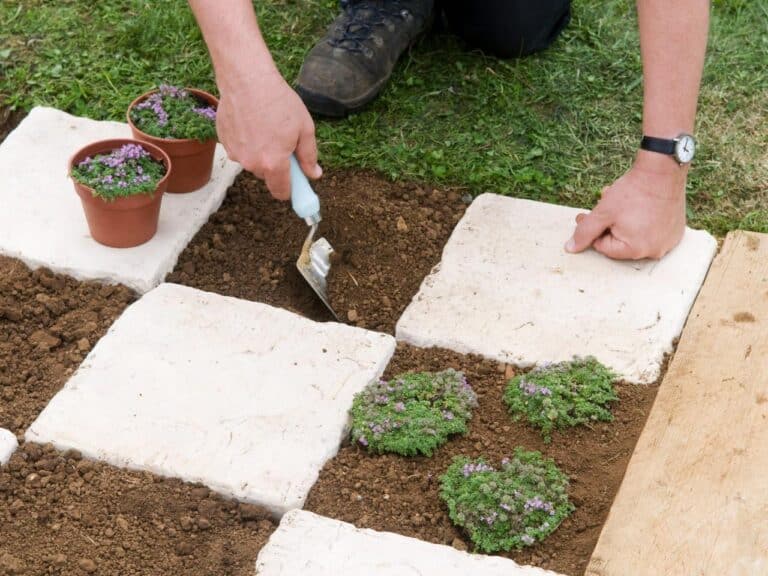
Step 5: Fill the empty Squares
To bring the planted squares up to the level of the paved squares, fill in with topsoil. This will help with maintenance in the long run, particularly if you are sowing grass and need to run a mower over the tiles. There are several suitable species of plants that may be used between the tiles. You can also alternate the tiles and plants with gravel to add extra color and texture to your garden!