Natural Stone & Porcelain Cleaning & Sealing Guide
Sealing Paving
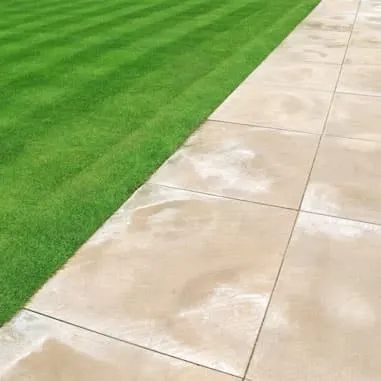
If you’ve just laid your brand new paving, or cleaned up an existing patio, now is the ideal time to seal the paving to help protect it.
Natural Stone is porous and will absorb liquid from anything left on the surface, such as muddy paw prints, grease stains from a BBQ, wet leaves, bird droppings and moss. All of these can leave stains and once anything has set into the surface of your stone, removing it will be more difficult. Sealing paving will help to prevent staining, as well as the build-up of any excess moisture and will also help prevent frost damage.
Although Porcelain Paving is non-porous, there are many benefits in protecting man-made slabs too. A porcelain tile protector will ease the removal of any dirt and residue trapped within the textured surface, making sure that your patio stays low maintenance and looks its best all year round!
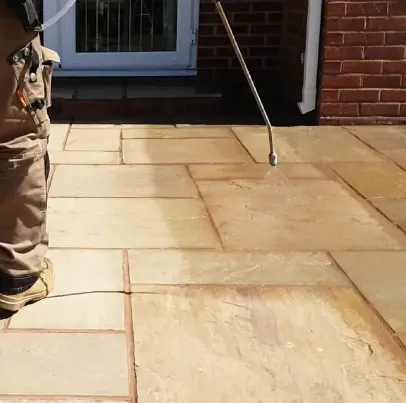
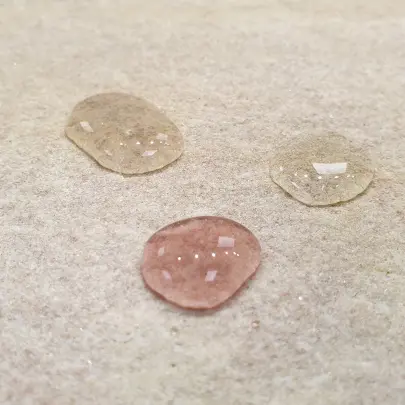
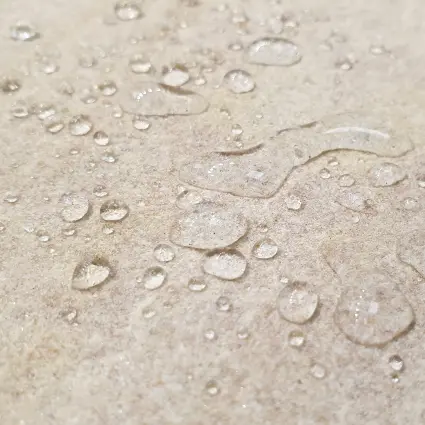
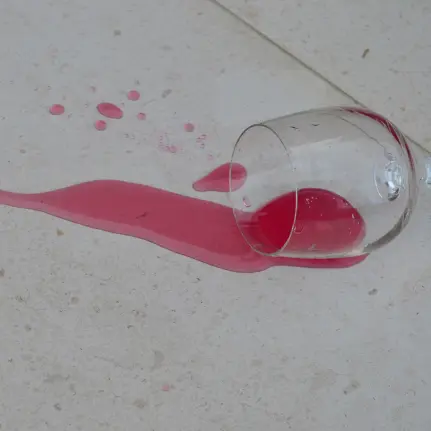
What Should I Use To Seal My Paving?
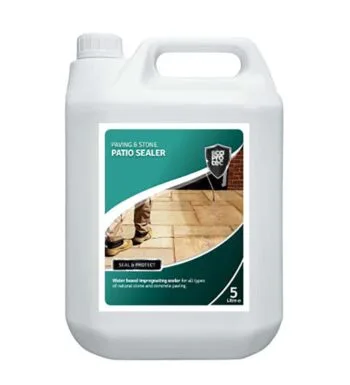
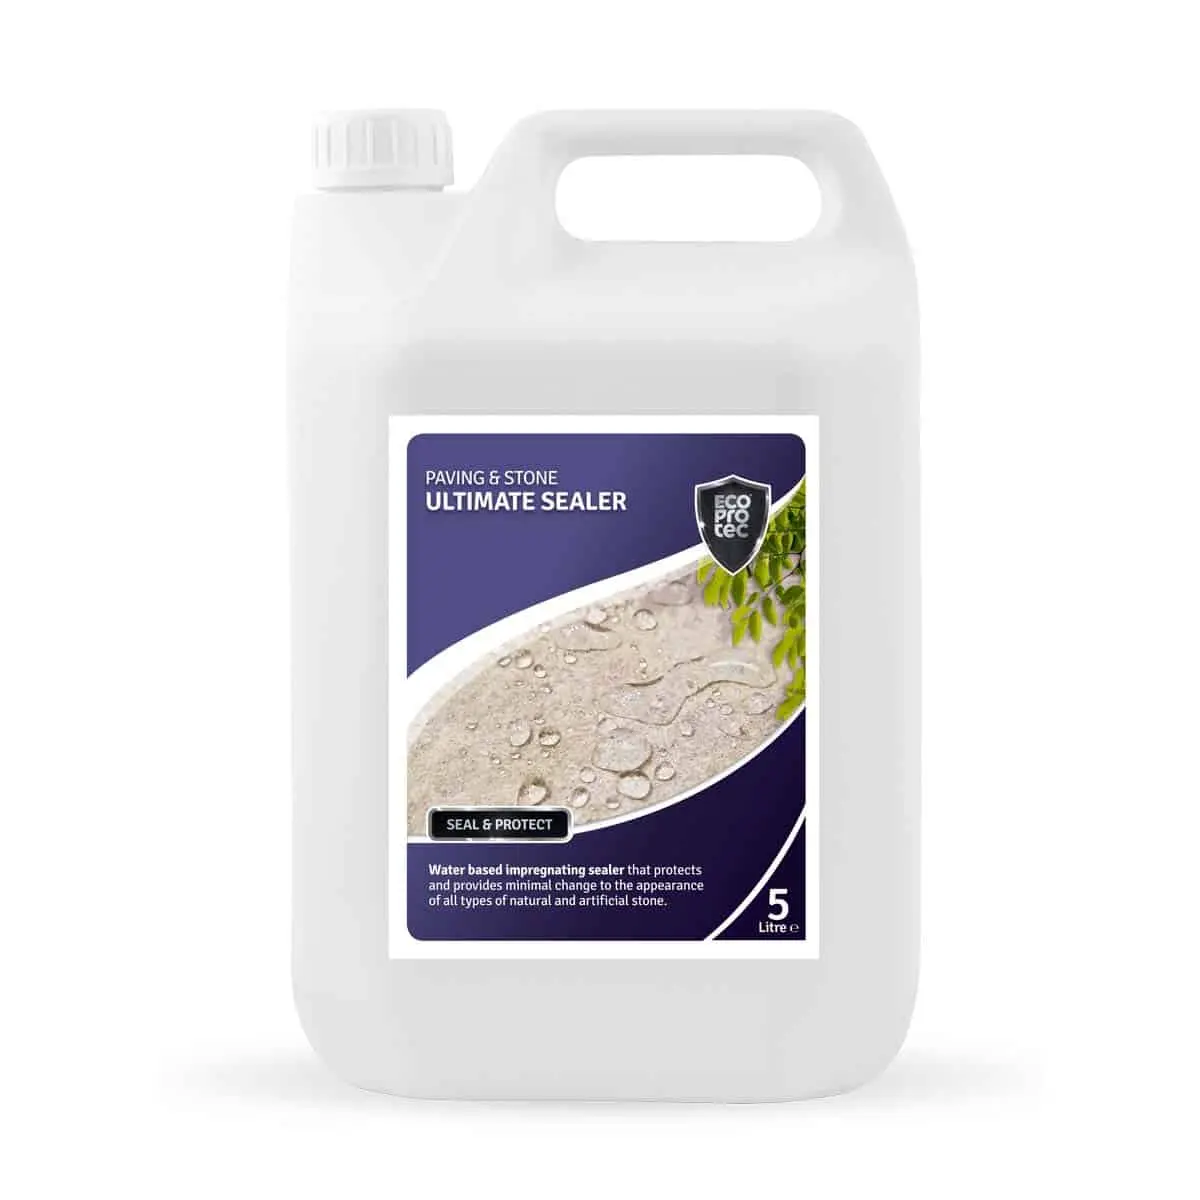
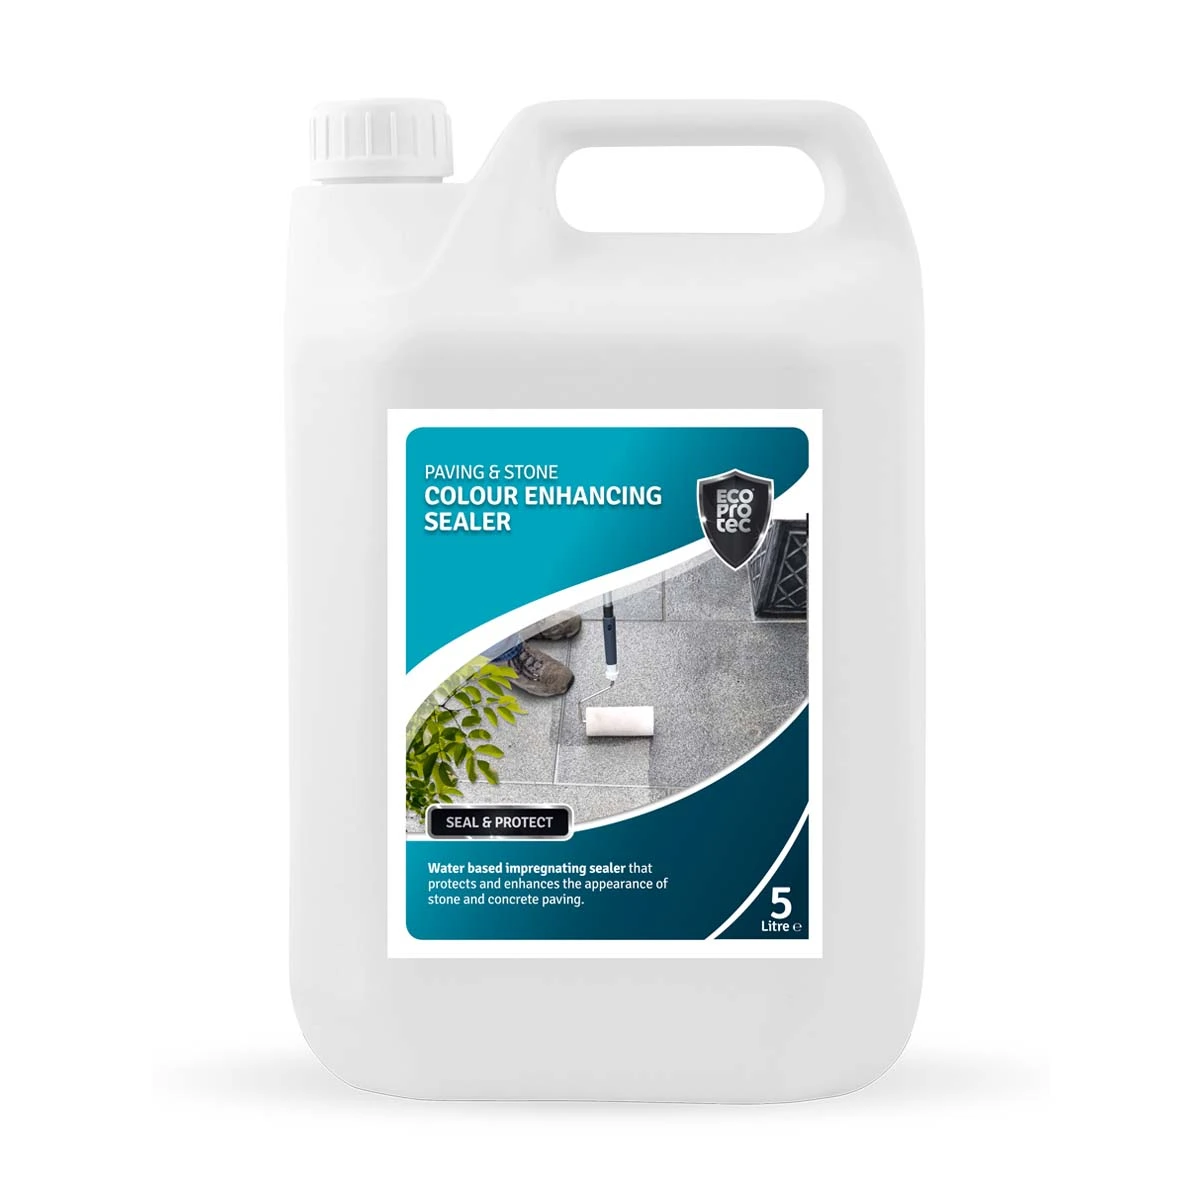
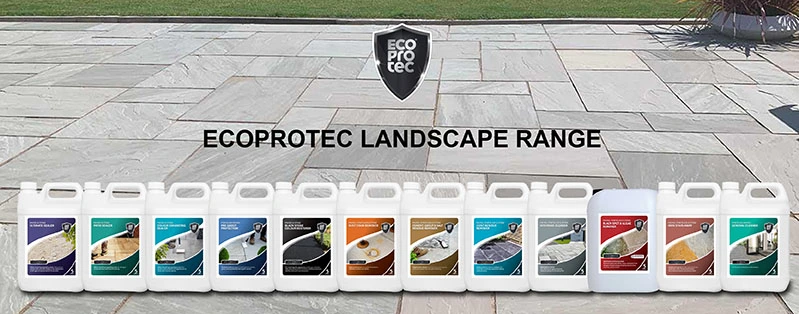
When sealing paving, we recommend ECOPROTEC Patio Sealer, Ultimate Sealer or Colour Enhancing Sealer for natural stone and our barrier treatment, ECOPROTEC Pre Grout Protection for porcelain.
All of these treatments are non-film forming and will help prevent the absorption of moisture and organic particles. They are also water-based, so can be applied over some residual moisture.
The application method for each of the sealers is the same but the finish is slightly different:
ECOPROTEC Patio Sealer creates minimal colour change.
ECOPROTEC Ultimate Sealerleaves the pavers virtually unchanged in appearance.
ECOPROTEC Colour Enhancing Sealer enhances the natural colour tone.
Use the links above to visit the product pages and find out more about each option to help you choose the right one for your patio.
Sealing Natural Stone Paving
Applying ECOPROTEC Patio Sealer, Ultimate Sealer and Colour Enhancing Sealer:
- Ensure your pavers are completely clean, dry and free from dirt and residue.
- Wash with a dilute solution of ECOPROTEC Intensive Cleaner (1:5) and scrub with a nylon scrubbing pad or deck brush.
- Rinse well with water and leave to dry for 24 hours.
- Shake the bottle.
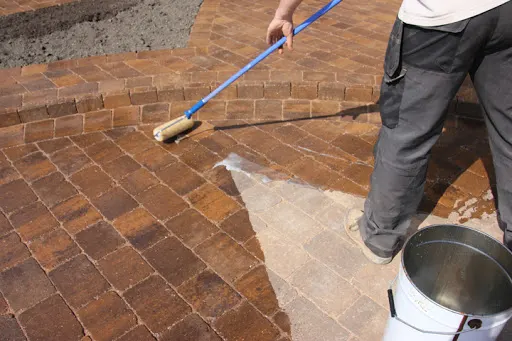
- Apply the sealer evenly using a foam roller, paintbrush or light-pressure sprayer.
On more absorbent surfaces, apply further coats at hourly intervals until the surface is fully saturated. We always recommend testing on a small area first.
Sealing Porcelain Paving
ECOPROTEC Pre Grout Protection is a barrier treatment designed for use on textured, matt porcelain tiles. It protects the surface of the tile from grout and jointing compound during installation, making it easier for the residue to release and be cleaned out of the textured finish and it helps make ongoing cleaning and aftercare easier too
How to apply ECOPROTEC Pre Grout Protection:
- Ensure that your pavers are completely clean, dry and free from dirt and residue.
- Wash with a dilute solution of ECOPROTEC Intensive Cleaner (1:5) and scrub.
- Rinse well to remove residue and leave to dry.
- Shake the bottle.
- Before grouting, apply evenly with a broad paintbrush, foam roller or light-pressure sprayer.
- Allow to dry for 30 minutes and apply a second coat.
- Leave to cure for at least one hour before grouting.
- Once grouting is dry and residues have been removed, apply a further coat of protector, covering the paver and the grout joint.
When Should I Seal My Paving?
Ideally, you should seal your paving before laying to help protect against staining during installation. This will take a little longer, as sealing individual slabs will naturally take more time than sealing a fully finished patio, but it’s well worth the effort to keep your stone protected.
If this isn’t feasible, apply the sealer as soon as possible after installation. Make sure that the pavers are clean before applying any treatment to ensure that the sealer is properly absorbed and to avoid a patchy finish.
It is safe to apply a water-based treatment provided that no rain is forecast for 24 hours on either side of the application. However, a sealer shouldn’t be applied if it is very cold or very hot; ideally, the temperature should be between 5-25°C.
Colour Enhancers
As a natural product, the exact tones and colours can never be pre-determined, so if the colours are more muted than you would like, a colour-enhancing product will intensify the natural tones of each slab, resulting in a more vibrant palette!
Better still, many colour-intensifying products double up as a sealer which will help to protect your stone too.
Natural stone can begin to fade over long periods, depending on the conditions within your area and the use of your space. A colour enhancer will restore the natural beauty to your space to help bring it back to life!
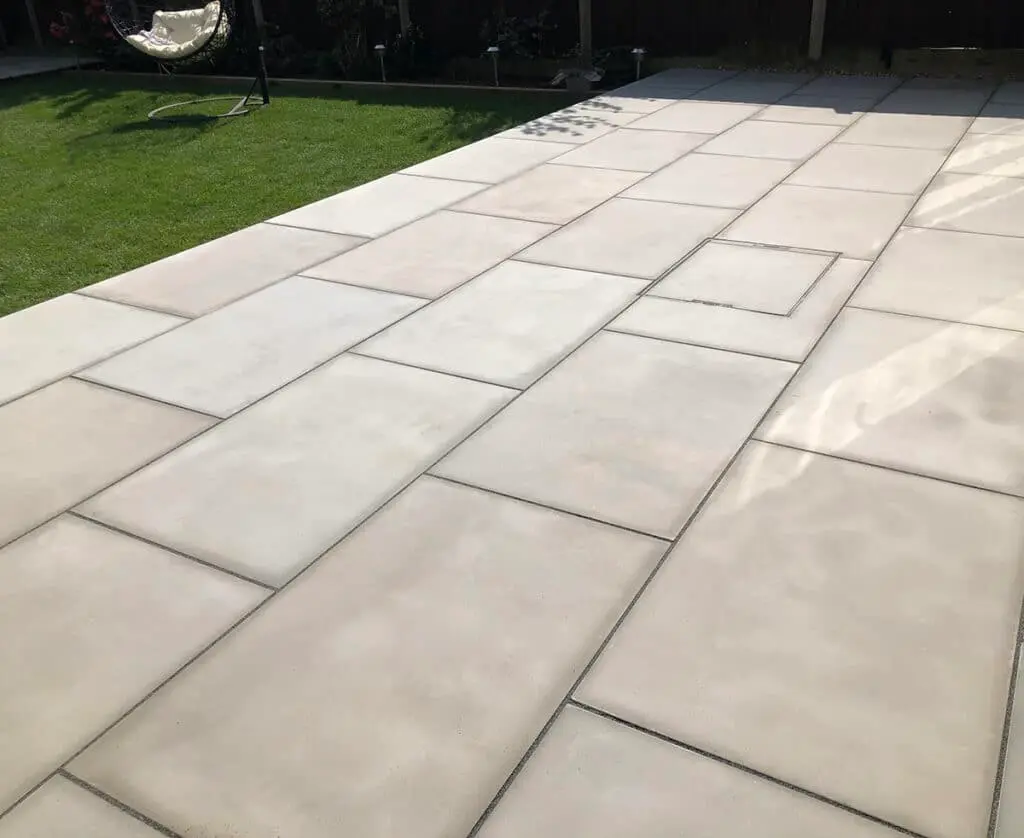
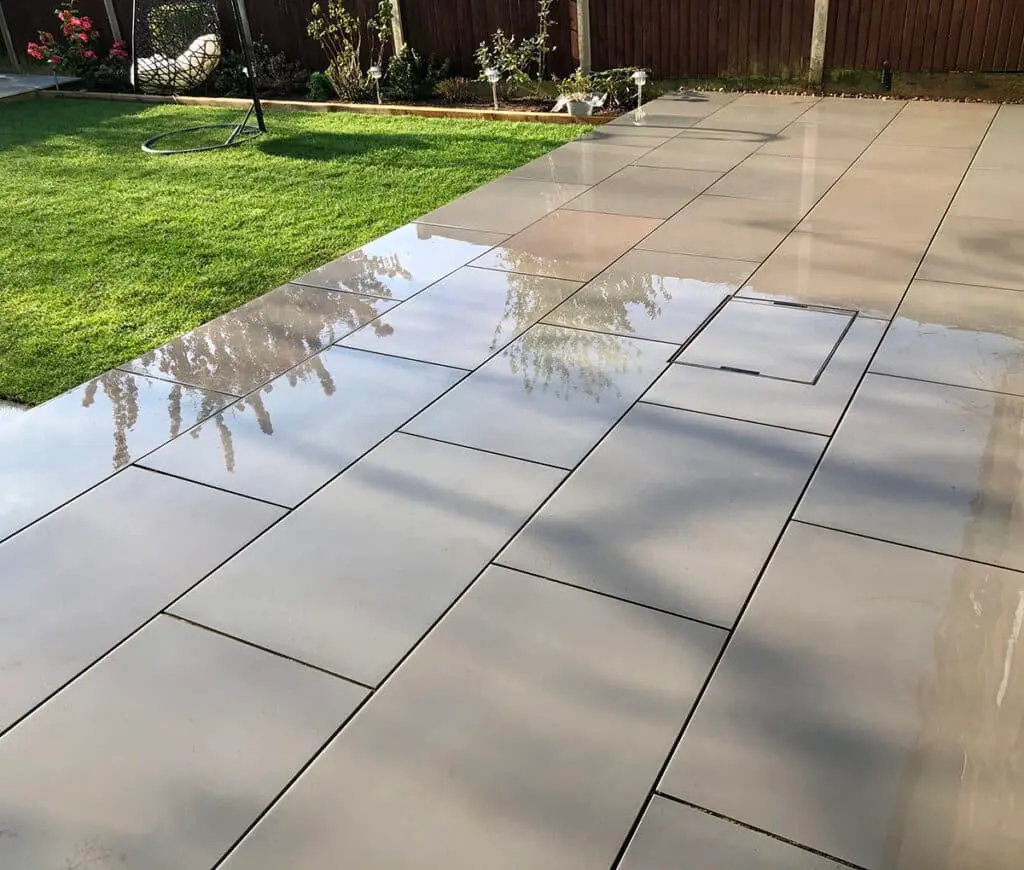
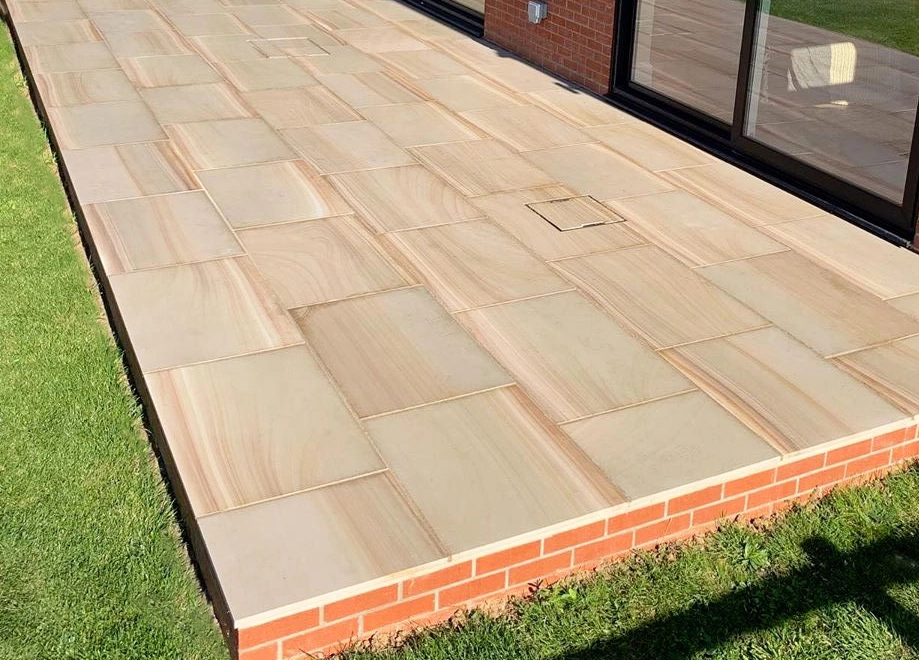
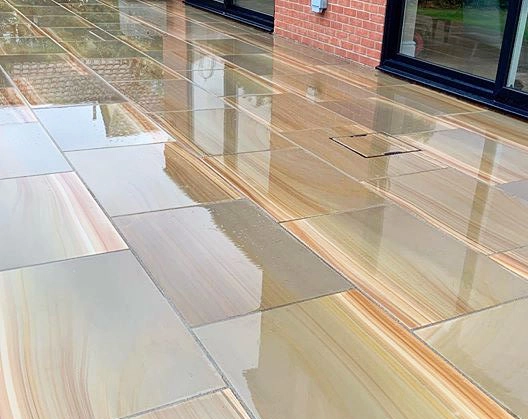
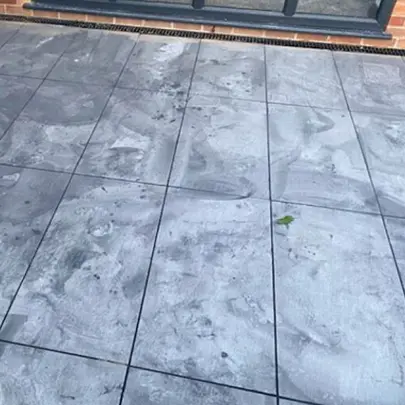
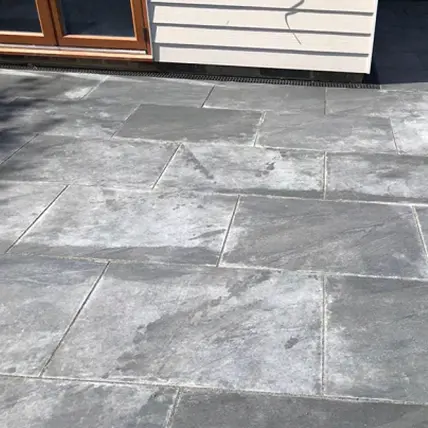
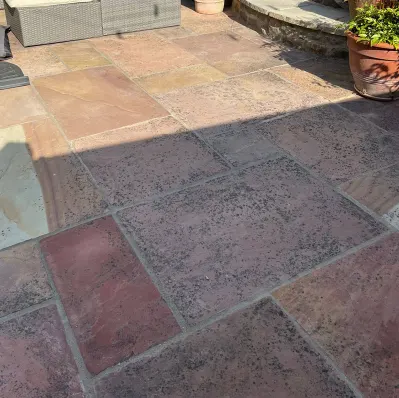
Take a look below at the difference between a dry, unsealed stone before and after sealing.
We recommend ECOPROTEC Colour Enhancing Sealer mentioned above, which is a water-based, non-film-forming treatment that will help prevent the absorption of moisture and organic particles, whilst enhancing colour tone.
Top Tips For Sealing Paving
Be sure to take a look at some things to consider before sealing your paving to be sure that you get the best results possible!
Always Read The Label
Check the product and instructions carefully before use. Instructions for use and suitability for different stone types will differ from product to product.
Test The Sealer
Before distributing a product over the entire surface of your patio, test it in a small, inconspicuous area – a single slab in the corner, or a cut-off, for instance – to check that it yields the desired results.
Avoid Certain Acids
Avoid anything with the wrong acid content as this can cause staining to your slabs, by aggravating the natural iron particles in stone and causing them to oxidise, turning a rusty orange-brown colour. Acidic solutions can also erode stone and grout, and damage any sealer applied. Brick acid is sometimes wrongly advised as a paving cleaner and will do more damage than good when used on natural stone. Some acids can also be a serious hazard to children, pets and plants, so it’s best to steer clear altogether.
Seal In Suitable Weather
As mentioned earlier, it is safe to apply a water-based treatment provided that no rain is forecast for 24 hours, either side of application. However, a sealer shouldn’t be applied if it is very cold or very hot; ideally, the temperature should be between 5-25°C
Seal Your Paving In One Go
When sealing your paving, it is best to treat the whole area in one go. If you break the process up into multiple rounds, you run the risk of missing some areas or applying multiple layers. This can leave your patio looking patchy and can be tricky to rectify. The Technical Data Sheets on each ECOPROTEC product page will explain how much product you will need. You can then calculate how many cartons you would need to cover the total desired area.
Health & Safety
Always ensure that you wear protective clothing, such as gloves and boots, and check that you have effective ventilation when using chemical cleaners. Be careful not to damage any of the surrounding materials and target the chemicals to the affected area, disposing of any run-off materials safely.
Still Unsure? Speak To A Professional.
Most professional landscapers will have their own tried-and-tested methods when it comes to sealing paving, so if you’re having your patio laid by a professional, ask for their advice so that they can provide some insights based on the specifics of your project.
You can also reach out to ECOPROTEC directly, who can offer expert advice on their products to help you get the best results. Contact ECOPROTEC HERE.
Cleaning Paving
Regardless of type, all pavers will need a good, regular clean, but what’s the best method and product to use?
Natural stone is incredibly robust and existed for thousands of years before it became a path or patio, but no matter how dirty or stained it becomes, there is always a solution!
After a slab has been laid, it may take a little while to adjust to its new environment. Any marks that remain may be a result of the laying method, mineral content or aftercare products used. With a little research and the use of the correct product and method, most issues can be quickly resolved.
Below, we’ll cover all of the most common reasons that you may need to clean or treat your paving to help keep your new patio spotless or to refresh any old, tired-looking spaces.
Everyday Maintenance
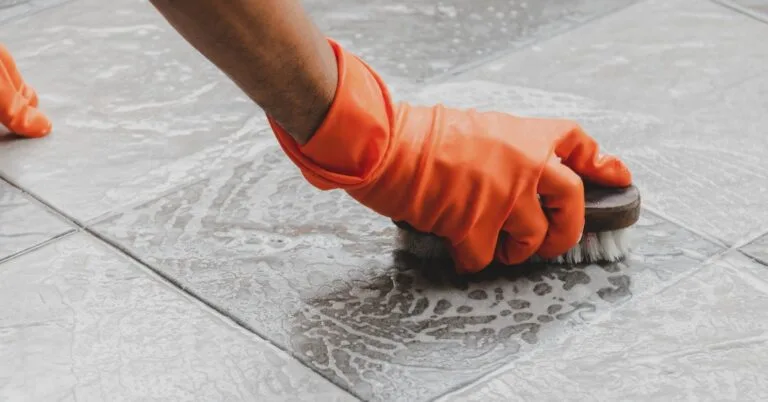
Basic maintenance is as simple as giving your paving a good sweep with a stiff brush, to remove any build-up of dirt, debris, leaves and other residue. It’s also worth keeping on top of weeds and removing as much of the root as possible, to help prevent regrowth.
Your paving will benefit greatly from a thorough cleaning every couple of months or so – ideally, three times during the spring and summer seasons and twice during the winter. Pavers that are regularly cleaned will be far easier to keep clean and regular cleaning of paving that has been laid from the house to the garden, through bi-fold doors, will also help maintain a seamless look.
To remove stains and ingrained dirt, we recommend a specialist paving cleaner diluted in warm water. Before cleaning, remove furniture, pots and other objects, and sweep the area. Then, test the cleaning solution on an inconspicuous area. Be sure to follow the manufacturer’s instructions carefully. After cleaning, rinse the area thoroughly with clean water.
A Note On Pressure Washing
A blast with a jet wash may seem like a quick and easy way to clean pavers but it will only wash dirt off the surface.
The use of excessive amounts of water can also make staining and slip issues worse. Jet washing can also loosen grout, erode a stone surface and damage any protective sealant applied.
A specialist treatment will react with ingrained dirt and organic matter, drawing it out of the stone or textured surface. It will also help to prevent regrowth of algae and other organic material.
Oxidation & Rust
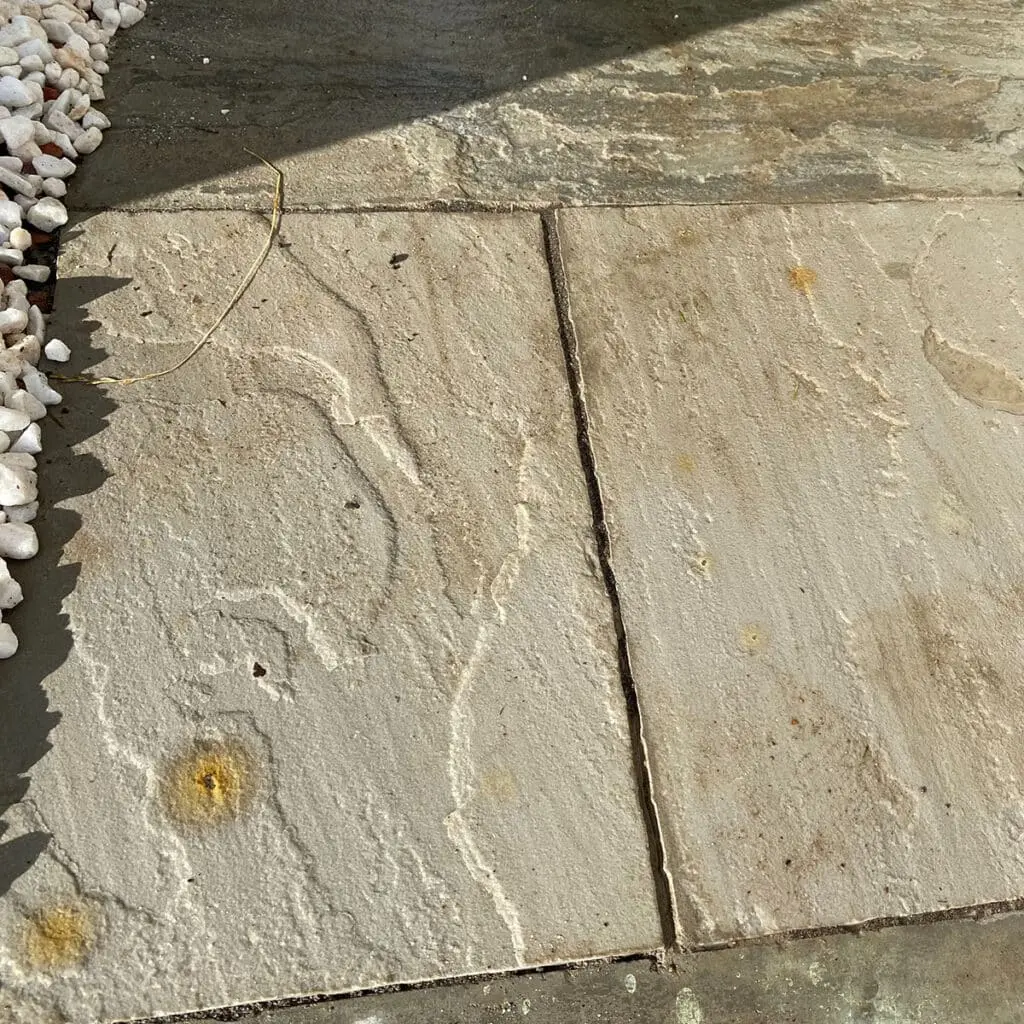
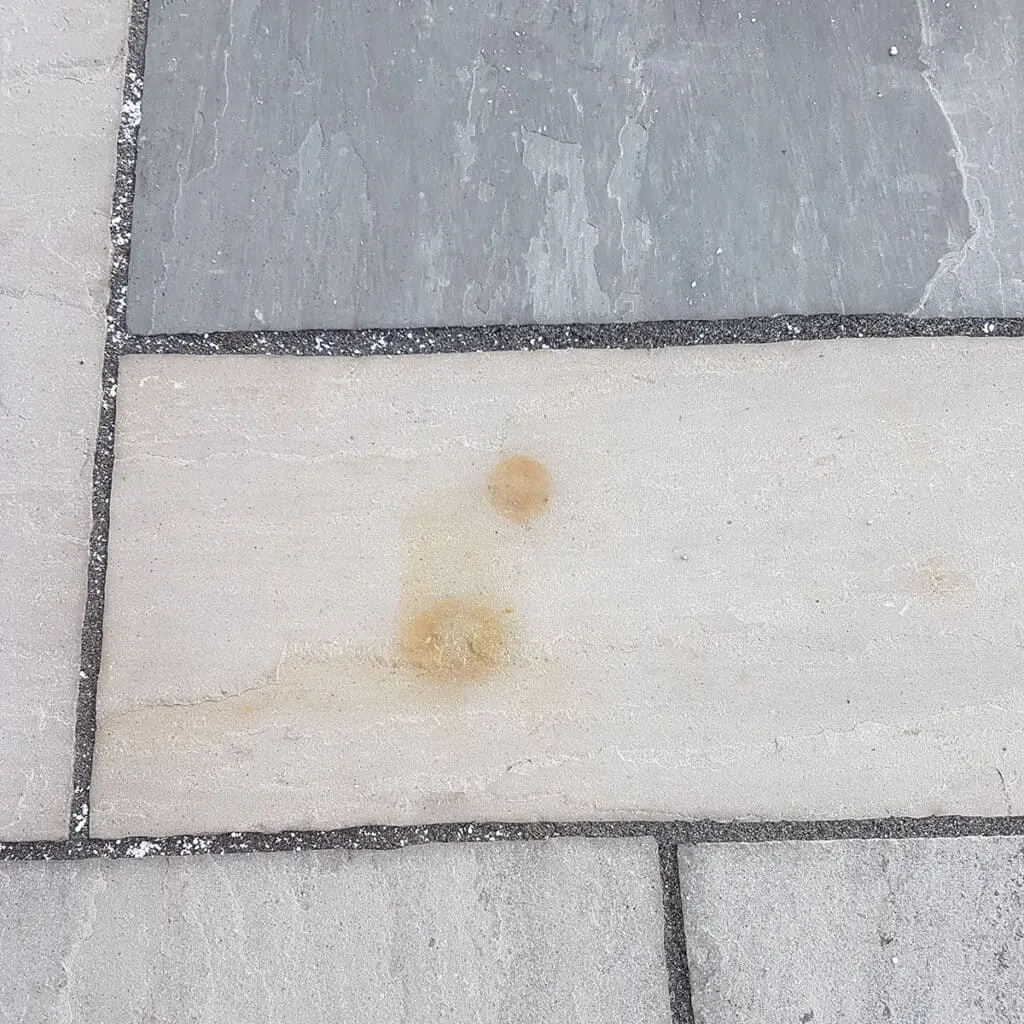
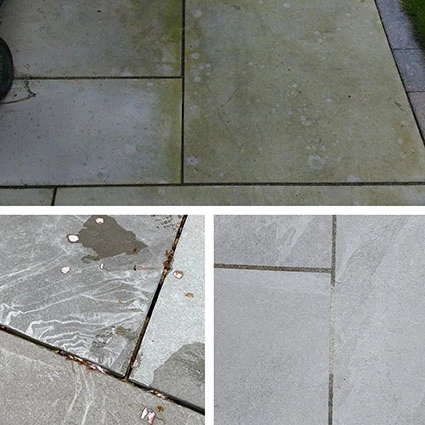
Oxidation is a process that occurs when the iron minerals in the stone are drawn to the surface and exposed to moisture and air, causing them to rust and turn a reddish-brown or orange colour. The resulting marks on the paving will vary due to the porosity of the stone and the minerals contained within it. Some types of natural stone paving, such as Granite and Kandla Grey Sandstone, have high iron content and can be more susceptible to this.
Mineral oxidation is an entirely natural occurrence and won’t affect the performance of your paving. The visible effects of this will naturally dissipate over time and there are plenty of products available which will help you to remove the marks if you’d like to speed up the process.
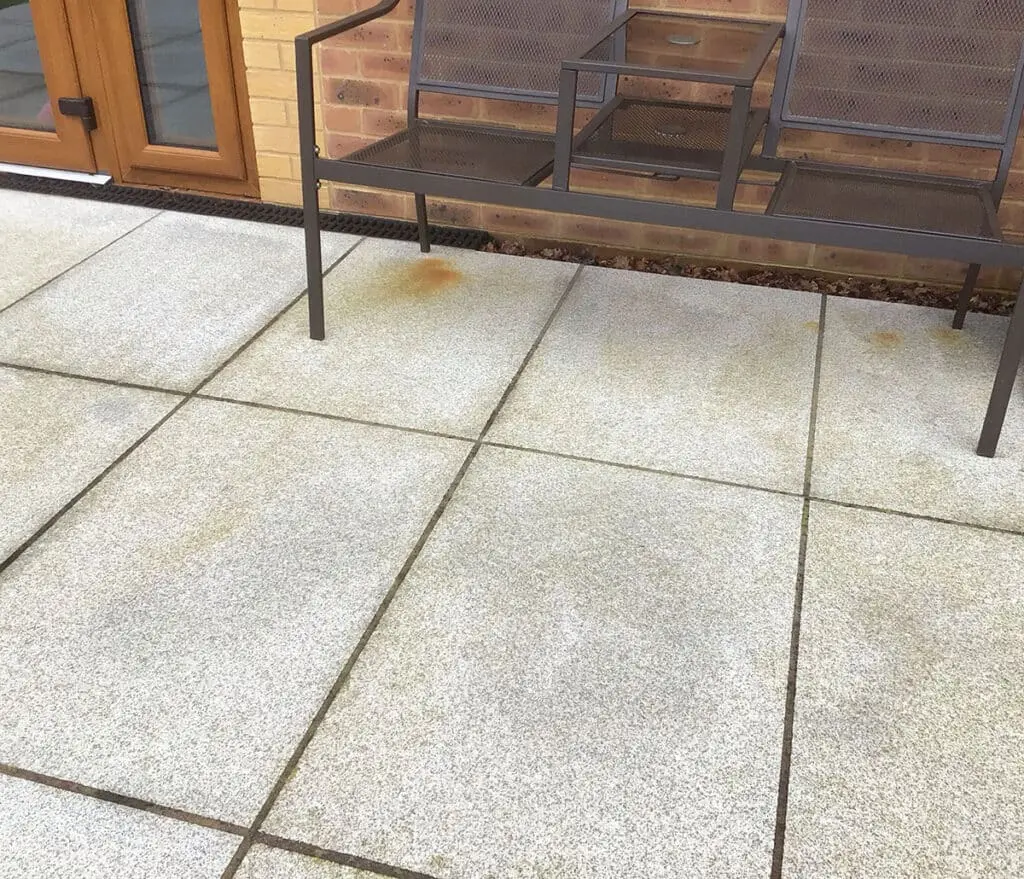
Rust stains and non-mineral oxidation can also occur when water runs over metal fixtures or fittings and trickles down onto your paving, depositing iron particles onto your slabs. These orange marks are common on driveways due to the increased risk of rust coming from vehicles, on patios, from metal garden furniture, barbecues, and fire pits.
How to Remove Orange Stains From Paving
Each type of rust – mineral oxidation and non-mineral oxidation – needs to be treated differently. We recommend one of two products – ECOPROTEC Iron Stain Away and Rust Stain Remover – both of which can also be used indoors and outdoors.
ECOPROTEC Iron Stain Away is formulated to remove mineral oxidation from hard ferrous stones including Sandstone, Granite and Slate. It is an acid-based cleaner but it’s the right kind of acid for harder stones. However, it is not suitable for use on acid-sensitive surfaces, including Limestone, marble or pavers with a highly polished finish. It’s worth diluting the product with water before use and testing it at different strengths on an inconspicuous area; in this way, you can see which dilution suits your tile best before treating the whole surface.
How to apply ECOPROTEC Iron Stain Away:
- After testing on a small area, apply the solution to the surface and spread out evenly. For external applications, garden sprayers can be used.
- After 3 – 6 hours, rinse with plenty of clean water. If traces remain after a couple of days, repeat the process.
Some natural stones will appear darker after treatment, as the product continues to work following the initial application. This is normal and the darkening effect will gradually subside.
For severe staining, surfaces should be agitated using a short-haired scrubbing brush or black emulsifying pad.
ECOPROTEC Rust Stain Remover is a non-caustic solution that removes marks caused by non-mineral oxidation. It is safe to use on all polished and unpolished natural and artificial stone tiles, including marble, granite, travertine, split face stone cladding, sandstone, concrete, terracotta, ceramic and porcelain.
How to apply ECOPROTEC Rust Stain Remover:
Ensure that the surface to be treated is completely free from dust and dirt before application. Shake well before use. Do not dilute.
- Completely cover the rust stain with the product.
- Leave to act for 15 minutes. The product colour will change to a deep purple as it reacts with the rust.
- Once the indicated time has elapsed, remove the residue and rinse the surface thoroughly with plenty of water and leave it to dry.
Repeat the application until the stain is completely removed.
Preventing Rust Stains
Once you’ve removed any oxidation or rust stains from your stone, aim to clean your patio a few times each year to help prevent any other types of oxidation or rust stains from building up. Other preventative methods to keep rust stains off your slabs include:
Seal Your Paving
We recommend that you seal your paving to prevent the stone from taking on excess moisture. This will help to prevent the iron content from being deposited on the surface when the moisture in the slabs has evaporated. Find out more about sealing your slabs further on in this article.
Use A Priming Slurry A slurry primer on the underside of your slabs will help decrease the amount of moisture being drawn into the stone, so fewer iron particles will be picked up and deposited on the surface.
Steer Clear Of Acid & Bleach Avoid using any products like bleach or brick acid that contain harsh chemicals. These will only damage your stone and can actively rust the iron particles within your slabs.
Be Careful With Weedkillers Many weed killers and similar products contain ferric sulphate which can cause rust stains, so be sure to keep them away from your paving or look for a product without ferric sulphate to help avoid any issues.
Store Your BBQs and Garden Furniture One of the best ways to prevent non-mineral rust stains is to remove barbecues and similar items from paving during particularly wet weather and to store metal furniture away during the winter season.
Efflorescence
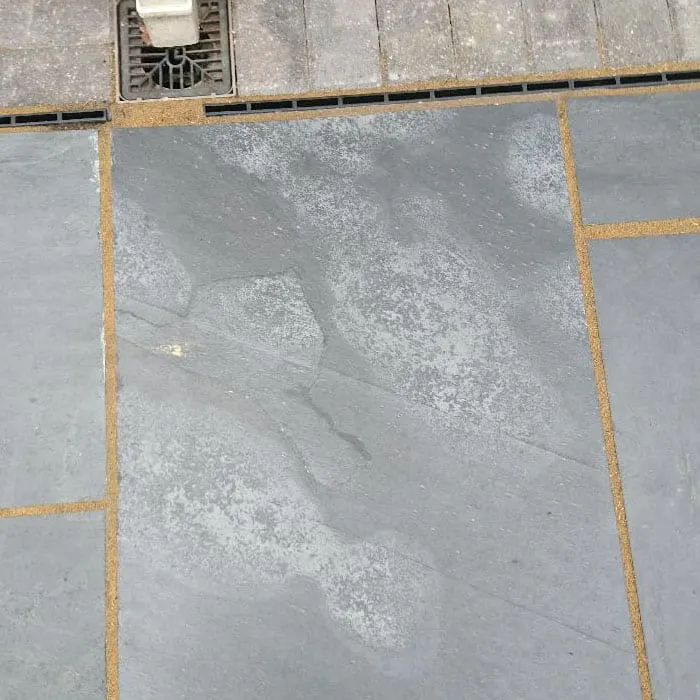
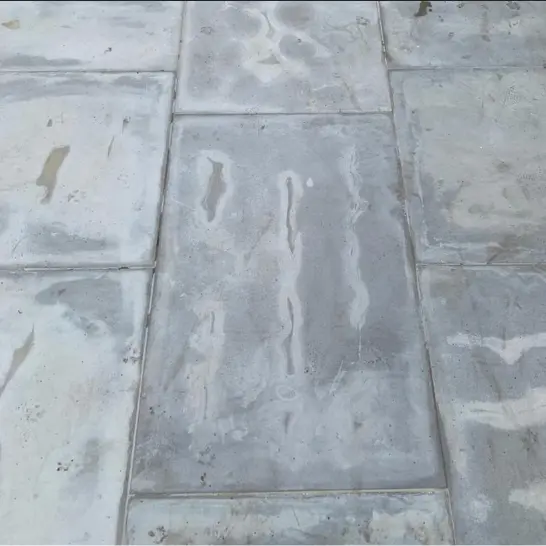
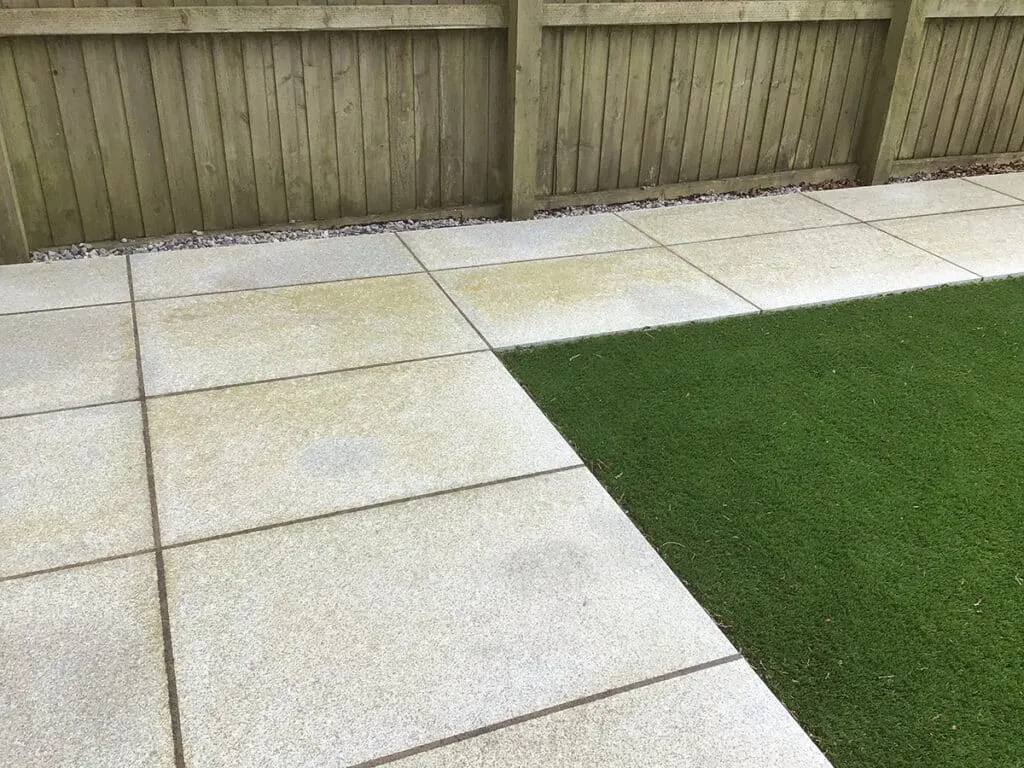
Efflorescence is a white or greyish powdery substance that can appear on the surface of natural stone, especially in damp or humid conditions. This is caused by the migration of salts to the surface of the stone and the subsequent evaporation of water. It can be unsightly but it will not affect the structural integrity of the stone.
Often referred to as a ‘bloom’, efflorescence is common on brick walls but it can also rise through grout joints and leave unsightly stains on the surface of tiles and pavers. It can easily be removed but it’s important to use the correct product, to avoid damaging the tile surface.
Efflorescence is not a fault in the stone and is a natural process that can vary in intensity from slab to slab and will also depend on the mineral content of the stone.
It can occur after a spell of wet or cold weather, or build up gradually, and it’s often a seasonal problem. Standard cleaning products won’t effectively remove it.
Removing Efflorescence From Paving
If you see efflorescence on your slabs, allow a few weeks for the minerals and salts to work their way out of the stone, sweeping the chalky residue away regularly until it subsides.
If you’d like to speed up the process, use a specialized efflorescence cleaner such as ECOPROTEC Cement, Grout & Salt Residue Remover.
This acid-replacement treatment can be used on all types of tile and natural stone surfaces, except those with a polished finish, so it can safely be applied to unpolished acid-sensitive surfaces, including limestone and travertine, as well as all types of masonry. It can also be used on porcelain, glazed ceramics, quarry tiles and terracotta, slate, sandstone, granite and unpolished natural stone – indoors and outside. It removes rising salt caused by substrate moisture and spot-fixing – as well as cement and grout residues.
Brick acid is often recommended by the building trade as a go-to solution but there are many reasons why this shouldn’t be used. Brick acid is hazardous and corrosive. It often has a hydrochloric base which can strip the top layer from a paver. It’s especially damaging to acid-sensitive materials, like limestone, where it effectively eats away at the surface. Brick acid should be avoided at all costs to prevent damaging your stone.
When using cleaning chemicals, always wear protective gloves, clothing and eye protection. Before treating a large area, always carry out a test on a small, inconspicuous area.
How to apply ECOPROTEC Cement, Grout & Salt Residue Remover:
To remove mild staining and to treat non-absorbent surfaces, dilute 1 part of the remover with 4 parts of cool water. Always dilute the treatment by adding it to water, rather than the other way around.
- Apply with a cloth or sponge wrung out in the solution.
- Leave to act for up to 30 minutes.
- Wipe away the released surface residue with a sponge and cool, clean water.
For more severe staining: Use a 1:1 dilution and, if necessary, agitate the surface with a scrubbing brush. Leave to act for 5-10 minutes, keeping the surface wet with additional remover. Wipe away the residue and rinse, as before.
In extreme cases: Apply the remover neat and agitate the surface with a nylon pad, scrubbing brush or mechanical scrubber. Residues should then be removed straight away and the surface rinsed immediately.
Preventing Efflorescence
Using a Priming Slurry on the underside of your slabs during the laying process can help to prevent efflorescence by reducing the amount of moisture that can be drawn up through the underside of the stone, meaning that fewer salts and minerals will migrate to the surface.
Picture Framing & Patches
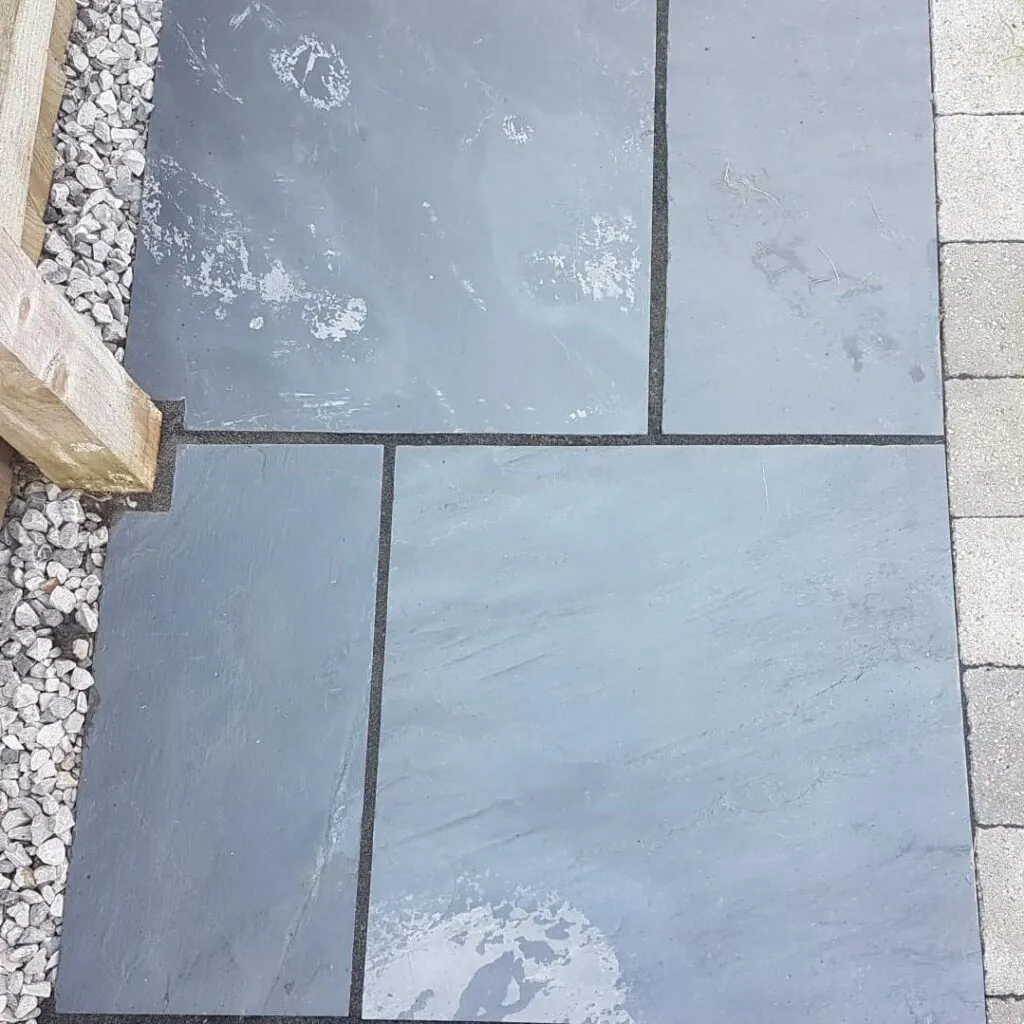
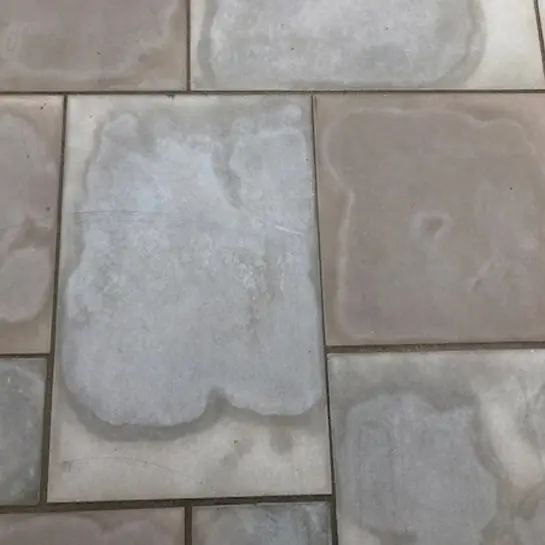
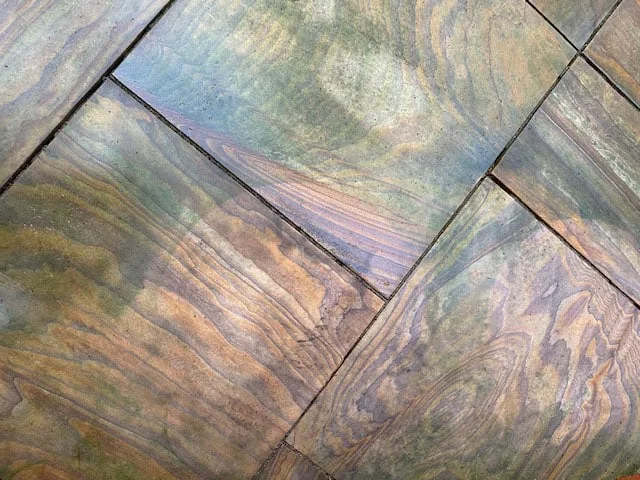
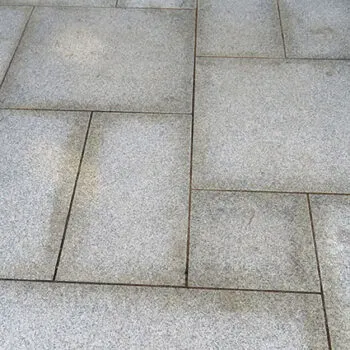
Patches around the edges of the slabs are referred to as ‘Picture Framing’ and are due to moisture being drawn into the slabs from the jointing compound or mortar base around the edges. On a warm and dry day, this picture framing will usually dry out but can appear again in wet or humid conditions as more moisture is drawn back into the slab. The natural porosity of the stone will determine the extent of the patches and will vary from slab to slab.
Uneven application of a sealing product can also cause patches to appear, so it’s important to take your time when applying any sealant and to follow the manufacturer’s instructions carefully.
Reflective Staining
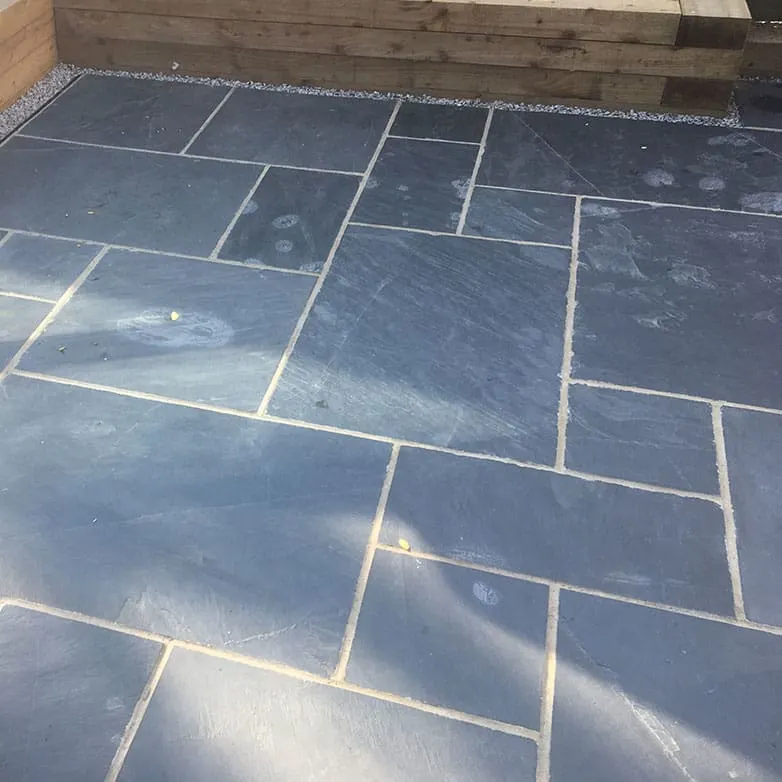
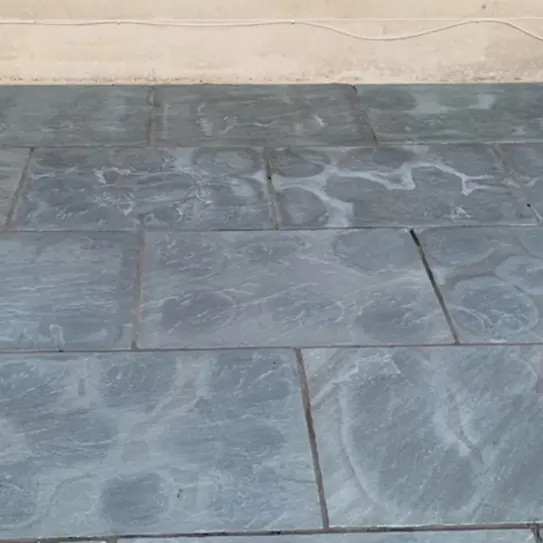
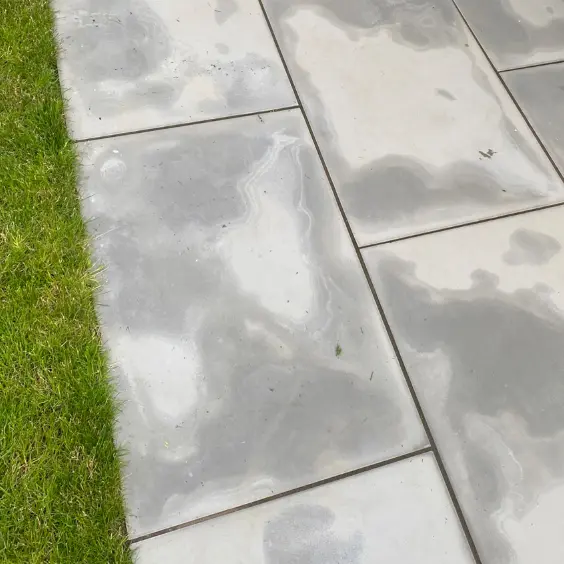
‘Spot Bedding’, ‘Ring Bedding’ or ‘Dot & Dab’ laying techniques will bring out some unsightly reflective staining on the slabs where liquid and minerals are pulled up through the surface unevenly. These laying methods leave gaps between the stone and the bed, resulting in moisture being drawn up through the bed in patches, which are reflected on the surface of the stone.
To help identify any parts of your slabs that are not in full contact with the bed, tap across the surface of the stone with the wooden end of a hammer and listen for a hollow sound beneath. If it sounds hollow, the likelihood is that this part of the slab is not in full contact with the bed.
Read more about this in our Installation Guide. Additional advice is available from PavingExpert.com.
Removing these marks entirely is almost impossible without taking up the affected slabs. However, all of these stains – as well as chalky white grout haze – can be treated with ECOPROTEC Cement, Grout & Salt Residue Remover.
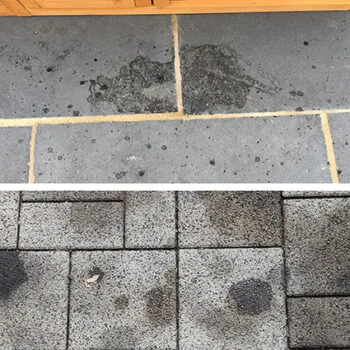
Grease & Oil Stains
As natural stone or porcelain paving is often used on driveways, there is always the potential for grease or oil from vehicles to leak onto your slabs, which can be tricky to remove. Grease and oil can also be an issue under BBQ’s and in outdoor kitchen areas.
If you act quickly by soaking up (not rubbing!) any spills or leaks with a towel, stains will be easier to remove.
Removing Grease & Oil Stains
Stains can be removed with a deep cleaner but harsh, acidic chemicals should be avoided, especially on acid-sensitive stones. We recommend ECOPROTEC Joint Residue Remover and ECOPROTEC Intensive Cleaner.
ECOPROTEC Joint Residue Remover is an intensive cleaner or stripper. A non-caustic formulation, it removes stubborn residue – including congealed fat and wax – by softening deposits so that they can be easily removed from the surface without causing any damage. It can be used on all natural and engineered stone, including sandstone, slate, travertine, terracotta, quarry tiles and porcelain.
How to apply ECOPROTEC Joint Residue Remover & ECOPROTEC Intensive Cleaner:
- Pour the neat solution directly onto the stains. It should be generously dabbed onto problem areas with a cloth or brush; always protect hands with suitable gloves.
- The solution is then worked in manageable areas – as far as you can reach without treading into the product.
- Leave the solution to work for up to 30 minutes; during this time, more should be applied if it starts to dry out.
- Use a coarse, stiff brush or Black Emulsifying Pad to remove the softened residue from the surface. The process should be repeated if any staining remains.
To wash down the pavers after treatment, dilute ECOPROTEC Intensive Cleaner 1:3 with water and apply with a cloth, mop or brush. The surface should then be rinsed with plenty of water and left to dry.
Reflective Staining
Two-part brush-in jointing compounds are often used for patio installations as they create a good, strong joint that can withstand the effects of pressure washers and other potential erosion. Once the grout is mixed, it has a limited working time. It’s generally applied to a wet surface and brushed into the joints. The pavers are then rinsed and swept. Often, a white residue remains on the surface of the tile which can be very difficult to remove, especially on textured surfaces.
Removing Jointing Residue
To safely remove these stains – without damaging the joint or the paver – we recommend ECOPROTEC Joint Residue Remover, a non-caustic intensive cleaner/stripper, which helps to soften the resin residues allowing for easier removal. Application is normally followed by a final wash with ECOPROTEC Intensive Cleaner before rinsing down.
How to use ECOPROTEC Joint Residue Remover and ECOPROTEC Intensive Cleaner.
- Work in manageable areas; normally in strips as far as you can reach without treading into the solution; do not brush out.
- Leave to act for 15 minutes. The product colour will change to a deep purple as it reacts with the rust.
- Leave for up to 30 minutes, but don’t allow the solution to dry out. If it starts to dry out within this time frame, apply a little more solution.
- Use a coarse, stiff brush or a Black Emulsifying Pad to remove the softened coating from the surface of the paver. Repeat this process if some staining remains.
- Wash down the pavers with ECOPROTEC Intensive Cleaner, diluted 1:3 with water.
- Rinse with plenty of water and leave to dry.
As well as tackling brush-in grout stains, ECOPROTEC Joint Residue Remover can also be used to remove residual epoxy grout, wax, oil, silicone, acrylic and polyurethane sealer from porcelain, as well as stone, travertine, terracotta, slate, sandstone, flagstones, quarry tiles and glazed ceramic.
Moss & Algae
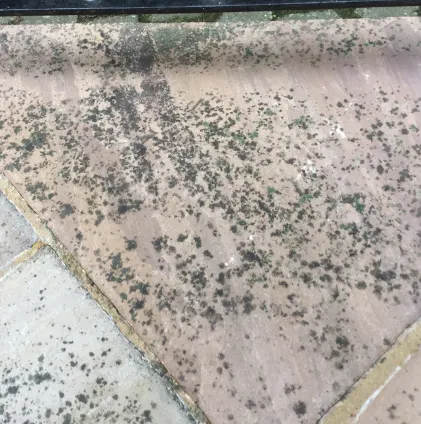
You’ll find algae and similar organic growths in damp places as they thrive on moisture. Any dark, damp areas of your garden are where you should be most concerned about algae; Natural Stone Paving will absorb water over time which can promote these growths.
Typically, algae appear as a green film or powdery deposit and will leave residue on your hands if touched. Lichen is the grey, yellow and orange crust-like patches you often see on benches and sheds and Moss, the most favoured but still damaging of these growths, appears as a thick, soft green cushion on hard surfaces.
Non-Chemical Algae Removal
One of the best ways to prevent damage caused by algae and other growths is to dislodge it as soon as possible.
With moss, for instance, you can run a knife along the edges of your paver to remove the growth. Do this very carefully to avoid scratching the surface of your stone or use a hard-bristled brush. Once the growths have been dislodged, simply wash away the residue.
Chemical Algae Removal
There are a variety of algae removal products and natural stone cleaners available, which will help remove algae from stone patios, pathways and driveways. As mentioned before, care should be taken in selecting a suitable treatment. If a solution is acidic, it will damage acid-sensitive material and erode the grout joint. We recommend ECOPROTEC Black Spot & Algae Remover, which can be safely used on all types of natural stone, concrete, brick and porcelain. This treatment removes all types of organic residue, slippery matter and stains, breaking down hyphae below the surface, as well as preventing regrowth. When applying the Remover, it’s also important to treat the whole area of paving, for a uniform appearance.
Before washing pavers, any large, mossy deposits should be removed. A long-handled block paving brush is a useful tool. The whole area should then be swept clean to remove other residues, dirt and leaves.
How to use ECOPROTEC Black Spot & Algae Remover :
- Apply the solution neat to swept pavers, using a watering can or light-pressure garden spray, where it fizzes during treatment.
- Leave the solution to act for 2-4 hours and then hose the pavers with clean water.
The solution can be used on dry and slightly damp surfaces and should be applied during a morning or afternoon of fair weather.
Preventing Moss & Algae Build Up
Improve drainage around the area to ensure water drains away and the area eventually dries out. Using permeable paving will also help paths and hard surfaces to encourage drainage.
Constructing patios with a ‘fall’ so that they slope very slightly will prevent standing water and stop any excess algae growth.
Dark Stone Restoration
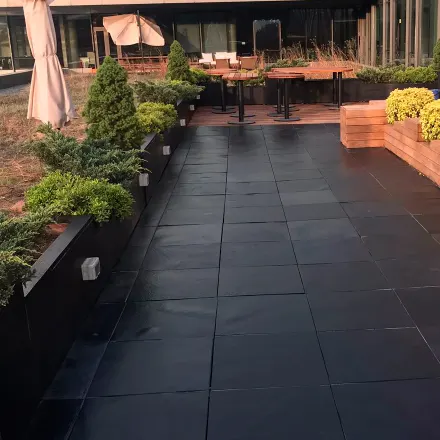
Staining and fading can occur in dark natural stones through everyday use and it is widely acknowledged that black stone paving can gradually fade over time. This is due to a chemical reaction with rain which is slightly acidic. Natural UV light will also play a part in causing dark stones to lose their colour and gradually fade to a steel grey shade.
The rate at which any fading occurs will depend on the amount of rainfall and sunlight, but other factors such as the type of use and level of footfall can also have an impact.
New slabs that arrive on-site, fresh from the quarry, will have a deep, bold colour tone. There is a level of maintenance involved, in order to maintain this.
Fading can be remedied with specialist products designed specifically for the stone, such as ECOPROTEC Black Stone Colour Restorer. This Restorer is a water-based, impregnating treatment that restores the appearance of faded limestone, marble, slate and concrete.
How to use ECOPROTEC Black Stone Colour Restorer :
- Ensure that your pavers are completely clean, dry and free from dirt and residue. If necessary, wash with a dilute solution of ECOPROTEC Intensive Cleaner (1:5) and scrub with a white nylon pad or deck brush.
- Rinse well with water and leave to dry.
- Shake the bottle well before use.
- Ensure that any surfaces not to be treated are covered and protected.
- Test the treatment on a small area first and do not walk on the treated area until it is completely dry. Wear gloves during application.
- Work in manageable areas – as far as you can reach without stepping into the solution – applying small amounts of neat solution; spread it out evenly with an applicator, foam roller or paintbrush.
- Allow the treatment to penetrate the stone. If a second coat is required, apply it immediately after the first is absorbed.
- Do not walk on the surface for at least four hours after the final application. Once dry, it may be necessary to work off any visible excess using a dry towel, to ensure an even application and to remove residue.
- Allow newly treated surfaces to cure for 24 hours. If necessary, wash surfaces with a 1:10 dilute solution of ECOPROTEC Intensive Cleaner; this will help to remove any excess.
- Test that the surface is colourfast by rubbing a few areas with a white cloth or paper towel.
As mentioned earlier, a sealer/restorer shouldn’t be applied if it is very cold or very hot; ideally, the temperature should be between 5-25oc.
Conclusion
Due to the many variables from project to project, there is no single go-to cleaning and sealing method but, by following the instructions for each product, you can keep your pavers looking good all year round!
Most types of patches and discolouration that occur after installation are just the result of the stone drawing moisture from its new bed. This won’t always appear and will generally subside or can be treated easily.
It’s important to remember that if you do see any of the above, these are not defects with the slabs; it can’t be pre-determined whether you are likely to see any, as the intensity will vary due to the mineral content of the stone, laying method and any products used on the pavers.
Any issues with the stone itself, such as breakages or incorrectly cut pavers, will always be evident before use and you should report this to your supplier before using the product.
For in-depth advice on laying paving slabs and for tips on how to prevent any problems, see our Installation Guide.
For further information on cleaning or sealing paving, or if you have any questions, feel free to CONTACT US, or reach out to ECOPROTEC directly.


.webp)
