


.webp)


WPC Fencing Installation Guide
Follow our Composite Fencing Installation Guide to ensure your project goes smoothly.
Installing and securing your Composite Fence Boards correctly is essential to ensuring that your WPC Fencing stays sturdy and safe as a great addition to your garden for many years to come.
Familiarising yourself with the installation process ahead of time will save you time and help to avoid any costly mistakes.
Whether you’re taking on the WPC Fencing installation yourself or have a professional doing the job for you, we advise having a basic understanding of the process so that you know what to expect.

Before You Start
Plan the layout for your fencing before you begin to ensure you get the best look for your fencing project. If you are unsure of any aspect of the project, be sure to reach out to a professional landscaper who can assess and advise on the specific needs of your space.
Proper installation requires a flat and sturdy surface. Never install on an uneven surface.
How To Install WPC Fencing


Step 1. For Installation On Soil
Measure the distance to install the Aluminium Fencing Posts (C), ensuring a 2-3mm extension beyond the fencing board length.
If the decking board isn’t long enough and needs trimming, use two joists for each decking board at the juncture.
The spacing between the two joists should be 340mm.

Step 2. For Installation On Soil
Dig holes for your fence posts at the measured positions, approximately 720mm deep, with a diameter of roughly 4 times the diameter of the post.
Place a 150mm layer of gravel in the base of the hole.

Step 3. For Installation On Soil
Vertically insert the Fence Posts (C) into the holes.
Pour concrete to fill the hole up to 50mm below ground level and, once dried, fill with sand to ground level.
Move on to Step 4.

Step 1. For Installation On Concrete Or Hard Surfaces
Measure the distance to install the Aluminium Fence Posts (C), and determine the position for installing the Bolt Down Post Shoes (J)..
Drill holes in the ground using an impact drill, aligning with the holes on the Post Shoes.
Move on to Step 4.

Steps 2 & 3. For Installation On Concrete Or Hard Surfaces
Secure the Post Shoes (J) to the ground using Bolts (K).
Insert Aluminium Fence Post Slots (B) into the Fence Posts (C), avoiding the side for attaching the fencing board.
Move on to Step 4.

Step 4.
Insert Post Skirts (I) from the top of Fence Posts (C) and slowly slide down to the bottom.
Insert Aluminium Fence Post Slots (B) into the Fence Posts (C), avoiding the side for attaching the fencing board.
Move on to Step 4.

Step 5.
Secure Connection Clips (H) to the Fence Posts (C) using Galvanised Screws (D), as shown in Diagram 9.

Step 6.
Insert the Aluminium Support Beam (L) into the Fence Posts (C) and slowly slide it down to position on the Connection Clips (H).

Step 7.
Insert the first Fence Boards (G) from the top, sliding it down slowly and securing it to the Support Beam (L), as shown in Diagram 13.

Step 8.
Continue sliding in the rest of the Fence Boards (G).
Install Connection Clip (E) on each side of the Aluminium Top Beam (F), then insert the Top Beam (F) into the Fence Posts (C).

Step 9.
Use Galvanised Screws (D) to secure Connection Clips (E) to Fence Posts (C).
Apply adhesive to fix the Post Caps (A) on the top of the Fence Posts (C).
You’re done!

General Cleaning for Composite Fencing
Regular cleaning is essential to keeping your composite fence boards looking their best. This guide will help you effectively clean your composite and remove various types of marks.
Unlike regular wood, composite products will not allow any stains to be absorbed into the surface, meaning that they are nice and easy to clean off.
How To Clean Composite Fencing:
1. Rinse with Water: Use a regular garden hose to rinse off any loose dirt and debris from the surface of your composite fencing.
2. Mild Soap Solution: Mix warm water with a mild soap or detergent. Avoid using harsh chemicals that could damage the fencing material.
3. Soft Brush or Cloth: Gently scrub the fence with a soft-bristled brush or a cloth, working in the direction of the grain to avoid scratching the surface.
4. Rinse Again: Rinse the soap solution thoroughly with a garden hose.
5. Repeat: Do this every few months, or as needed.
Tannin Stains
Tannin can seep from composite fencing over time and may leave some watermarks. This is simply a normal process for composite materials and can be removed with the above method, using warm, soapy water and a soft brush or cloth.
Maintenance Tips for Composite Fencing
1. Regular Inspections: Regularly inspect your composite fencing for any signs of damage or stubborn stains.
2. Prompt Cleaning: Address stains and marks as soon as you notice them to prevent long-term damage.
3. Avoid Harsh Chemicals: Stick to mild detergents and specially formulated cleaners for composite materials. If you do decide to use a chemical cleaner, always test the cleaner on an off-cut, sample or an inconspicuous area to check the results and any impact it may have on your composite fencing before applying it to the whole area
4. Protective Measures: During harsh weather conditions, take preventive measures like using a plastic shovel for snow removal and avoiding the build-up of debris.
5. Snow & Ice: Avoid using any hard, metal scrapers or shovels on your composite products to prevent any surface scratches.
6. Avoid Pressure Washing: Harsh jets of water can damage composite fencing, and bringing the nozzle close to the boards will cause the surface to peel.
By following these guidelines, you can ensure that your composite fence boards remain clean and in excellent condition for years to come. Regular maintenance not only preserves the appearance of your fencing but also extends its lifespan.
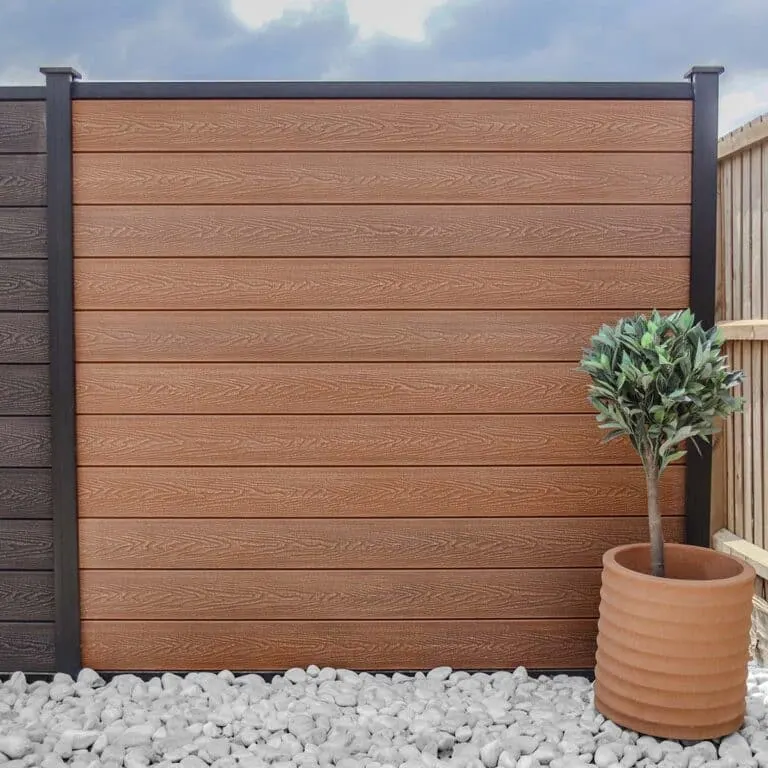
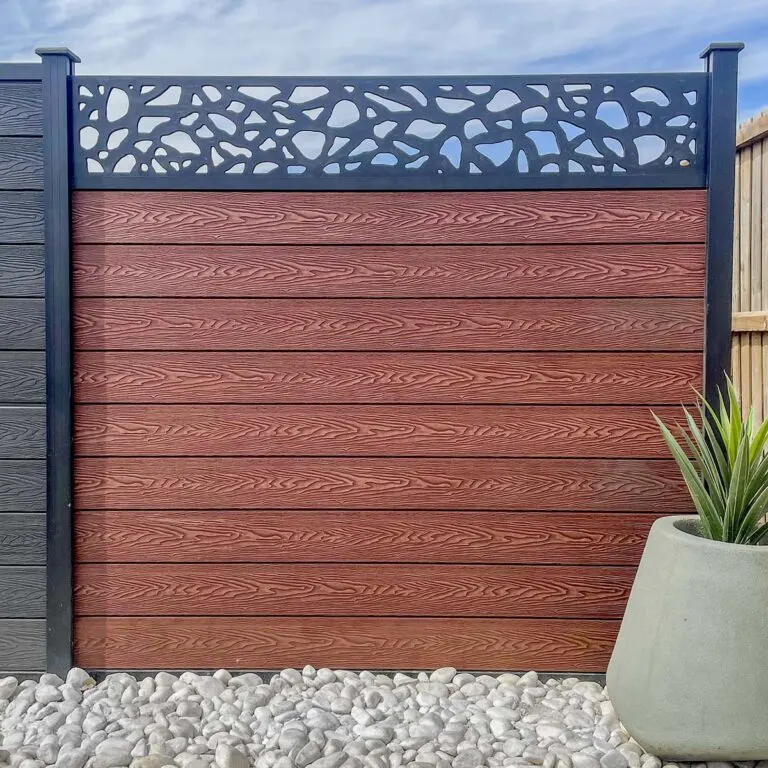
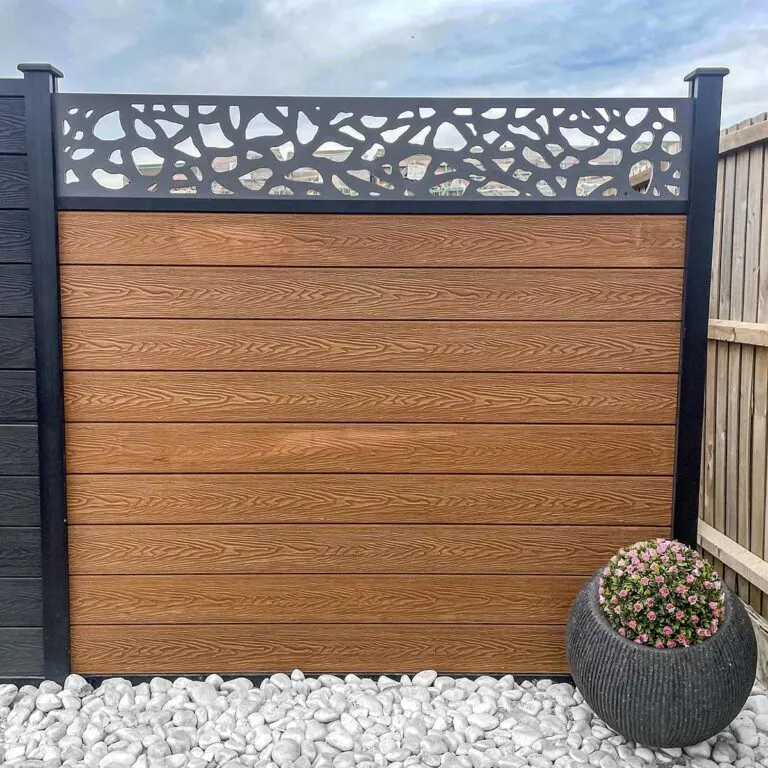
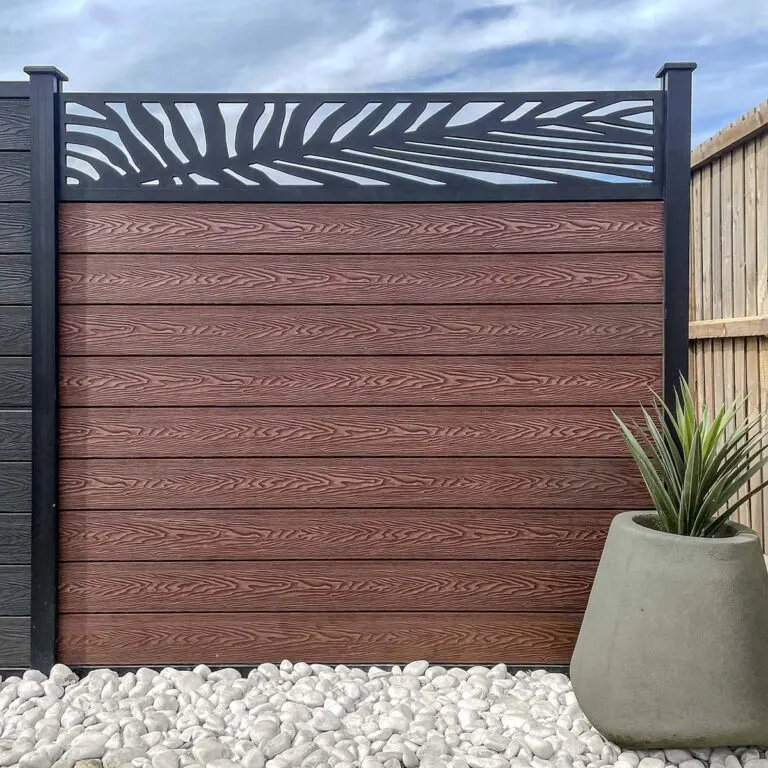
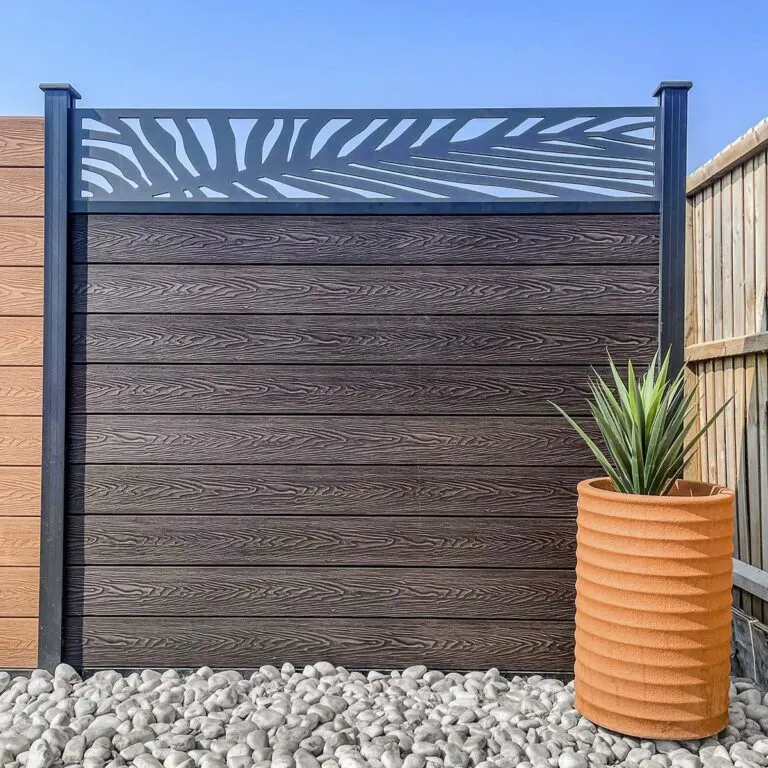
Our Composite Fence Panels
We stock a range of Composite Fence Panels and the accessories you’ll need to complete the installation successfully! Browse ourWe stock a range of Composite Fence Panels and the accessories you’ll need to complete the installation successfully! Browse our HERE!
This information is intended as a guide to the best practices for installing the products that we stock, and we always advise speaking with a professional who can assess the specific needs of your project before you begin.
If you have any further questions, we would be happy to help. Contact us via email at support@nustone.co.uk or call on 01206 700 599.